How to Change a Watch Crystal: Step-by-Step DIY Guide 2026
Your watch crystal is more than just a clear cover—it protects your dial from dust, scratches, and shocks while letting you see the time clearly. Over time, your watch crystal can get scratched, cracked, or even shatter. But before you panic, the good news is that you don’t need to replace your entire watch. With the right tools, knowledge, and a bit of patience, you can replace the crystal yourself.
This 2026 guide will walk you step by step through the process, from identifying the type of crystal to safely installing a new one. By the end, you’ll feel confident taking your watch from scratched to sparkling.
What Is a Watch Crystal and Why Would You Replace It?
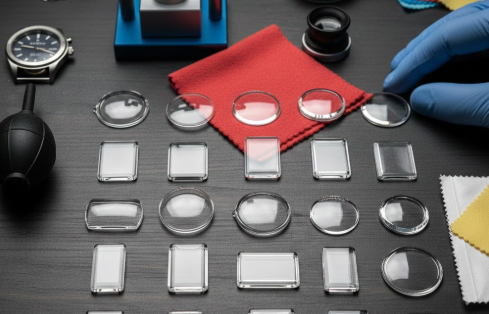
A watch crystal is the transparent cover that sits on top of your watch face. It can be made from acrylic, mineral glass, or sapphire. Common reasons to replace it include:
Scratches that affect visibility
Cracks or chips that compromise protection
Cloudiness from prolonged wear
Upgrading to a higher-quality crystal for durability
Sometimes, minor scratches can be polished out. But if the crystal is cracked, warped, or severely damaged, replacement is the only safe option.
In short, the crystal isn’t just decoration—it’s a crucial protective layer. Knowing when to polish and when to replace is the first step toward keeping your watch looking sharp.
Is It Safe to Replace a Watch Crystal Yourself?
Replacing a watch crystal yourself is doable for many watches, but it comes with some risks. Here’s what you need to know:
Vintage or high-value watches can be delicate and easy to damage.
Water-resistant watches require careful sealing to keep their protection intact.
Certain crystals need adhesives or even heat to install properly.
The risks scale with the watch’s value and complexity:
Watch Type
DIY Risk
Recommendation
Budget (<$200)
Low
✅ Perfect for DIY
Microbrand ($200–$800)
Medium
✅ DIY possible, but be cautious with sapphire
Vintage ($800+)
High
⚠️ Professional recommended
Luxury complications
Extreme
❌ Leave it to a pro
Biggest pitfalls to watch out for:
Installing the wrong crystal size (too loose or won’t fit)
Damaging the dial during removal
Losing water resistance by skipping gaskets or improper sealing
In short, DIY works well for everyday or budget watches, but if your watch is expensive, vintage, or has complex features, consulting a professional is often the safest choice. A small service fee is far cheaper than a ruined timepiece.
What Tools Do You Need to Replace a Watch Crystal?
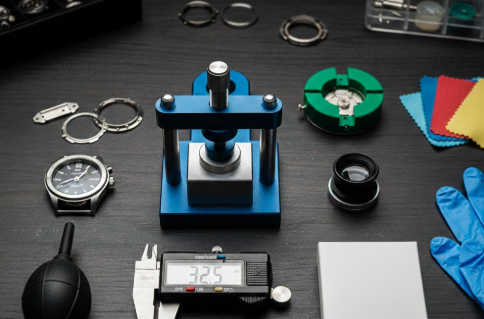
To replace a watch crystal, you’ll need a combination of essential and optional tools:
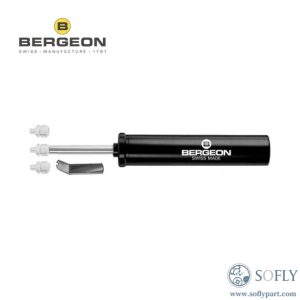
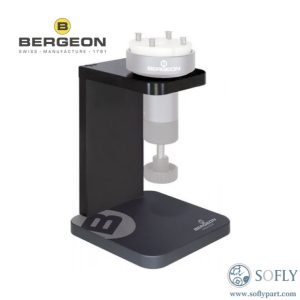
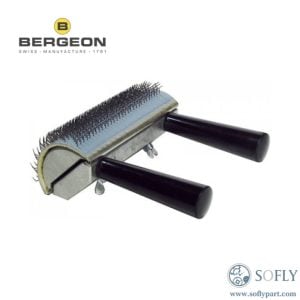
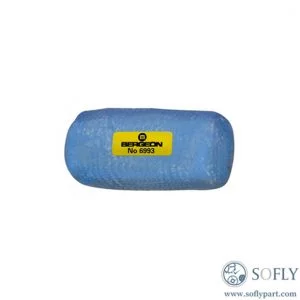
Watch polishing kit – helpful for acrylic crystals or finishing minor scratches
Skipping the right tools can turn a simple replacement into a frustrating mess. Investing in proper equipment pays off in cleaner, safer results. For reliable supplies, brands like Soflypartoffer high-quality watch tools and replacement crystals that make DIY projects much easier.
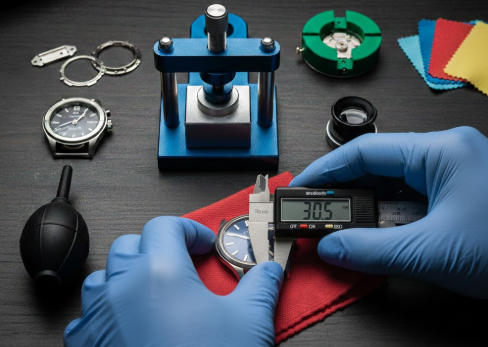
Getting the measurement right is critical. A crystal that’s too large won’t fit, and one that’s too small may pop out unexpectedly. Here’s how to do it safely and accurately:
Measure the old crystal directly, if it’s still intact.
Measure the inner diameter of the bezel if the old crystal is broken.
Step-by-step guide for precision:
Use a digital caliper across the crystal’s widest point.
Record the measurement with ±0.1mm accuracy.
For press-fit crystals, add 0.1–0.2mm clearance.
For snap-on crystals, aim for an exact match.
Check thickness to ensure the new crystal matches the original.
Tip: Always measure twice before ordering. Getting it wrong is one of the most common DIY mistakes.
What Are the Different Types of Watch Crystals?
Knowing what kind of crystal your watch uses is key to choosing the right replacement method. Different materials behave differently, and the installation method depends on both the type and the fit. Here’s a quick guide:
Materials:
Acrylic: Cheap, lightweight, and easy to polish or replace. Great for vintage or budget watches.
Mineral glass: Harder and more scratch-resistant than acrylic, often installed with a press. Good for daily wearers.
Sapphire crystal: Extremely hard and scratch-proof, but can be tricky to DIY. Professional installation is often recommended for sapphire.
Common fitting types: Compression fit, gasket fit, glued-in, or tension ring. The type of fit affects how you remove and install the crystal safely.
Type
Mohs Hardness
Scratch Resistance
Cost
DIY Rating
Best For
Acrylic
2.5
Poor (polishable)
$5–15
🟢 Easiest
Vintage, budget watches
Mineral
6
Good
$15–40
🟡 Medium
Daily wearers
Sapphire
9
Excellent
$40–150
🟠 Hard
Upgrades, divers
Crystal removal & installation methods by watch type:
Watch Type
Removal
Installation
Time
Difficulty
Examples
Snap-on Acrylic
Case knife
Finger press
5 mins
🟢 Beginner
Seiko 5, Timex
Press-fit Mineral
Crystal press
Crystal press
15 mins
🟡 Intermediate
Pagos divers
Tension Ring Sapphire
Ring lifter
Ring compressor
25 mins
🟠 Advanced
Squale homages
Glued Complications
UV + lifter
UV glue
40 mins
🔴 Expert
Rolex Datejust style
Some crystals, like acrylic, are perfect for DIY, while sapphire or glued complicated crystals are best left to professionals. Understanding both the material and the fit is half the battle—it tells you not just the method, but also how much patience, precision, and skill you’ll need to succeed.
How to Change a Watch Crystal Step by Step (DIY Guide)
Here’s a step-by-step guide for replacing most standard crystals.
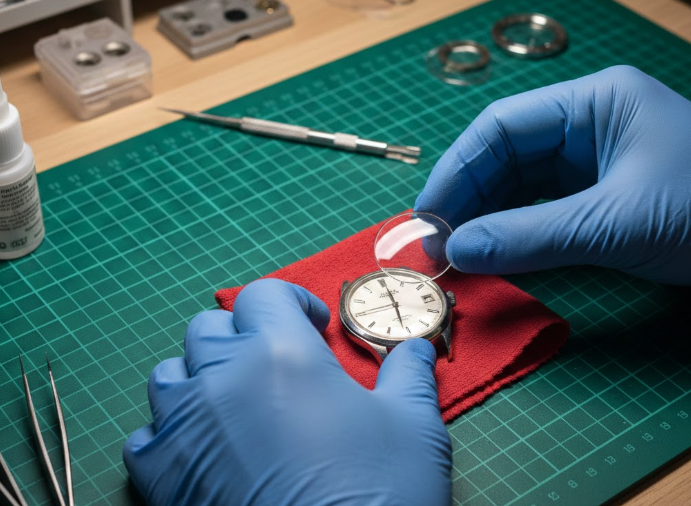
Use a crystal lift or press to carefully remove the existing crystal
For glued crystals, remove movement first to avoid adhesive damage
Handle with care to prevent scratching the dial
Removing the old crystal sets the stage. Take your time—rushing here can ruin the rest of the process.
Step 2 — Clean and Inspect the Case
Remove old adhesive or debris
Check for scratches or warping that might affect the new crystal’s fit
A clean, smooth case ensures your new crystal sits perfectly. Think of it as prepping a canvas before painting.
Step 3 — Dry Fit and Check Crystal Fit
Test-fit the new crystal before installation
Ensure it sits flush and has no wobble
Always double-check the fit. It’s easier to adjust now than after pressing it in permanently.
Step 4 — Installing the New Crystal
Use a crystal press or lift depending on fitting type
Press evenly and slowly to avoid cracking
Replace gaskets if present to maintain water resistance
Patience is key here. Even pressure makes for a professional-looking installation.
Step 5 — Reassemble and Check Accuracy
Reinsert the movement
Check crown and hands for clearance
Test water resistance if applicable
The final check ensures your watch functions flawlessly. Now your timepiece is ready to wear with confidence.
What Are Common Mistakes When Replacing a Watch Crystal?
Using the wrong size crystal
Failing to clean debris or old adhesive
Applying too much glue or uneven pressure
Not replacing gaskets, leading to water damage
Avoiding these mistakes can save both your watch and your sanity. Take your time and follow each step carefully.
How Much Does It Cost to Replace a Watch Crystal?
Acrylic: $5–$20
Mineral glass: $10–$50
Sapphire: $50–$200
DIY replacement reduces costs but requires time and the right tools. Professional service is more expensive but guarantees precision.
Cost shouldn’t be the only factor—consider your skills, tools, and the value of your watch before deciding between DIY or a pro.
When Should You See a Professional Instead of DIY?
High-value or vintage watches
Watches with water resistance or screw-down crystals
Crystals requiring adhesives or high-heat installation
If you’re uncomfortable with tools or precision work
Sometimes, leaving it to a professional saves headaches, especially with delicate or valuable watches.
FAQs
Can I replace a crystal without removing the movement?
Yes for some press-fit crystals, but removal is safer for glued or tension ring types.
What’s the difference between press-fit and tension ring crystals?
Press-fit sits snugly in the bezel; tension ring crystals rely on a flexible ring for retention.
Can scratches be polished instead of replaced?
Yes, acrylic crystals can often be polished, but glass and sapphire typically need full replacement.
Conclusion
Replacing your watch crystal yourself can be rewarding, cost-effective, and even fun. However, it demands precision, patience, and the right tools. For casual, budget watches, DIY is perfect. For valuable, vintage, or water-resistant watches, consulting a professional is the safest route.
With careful measurement, proper tools, and step-by-step guidance, you can give your watch a new life without breaking the bank. Take your time, follow the steps, and enjoy the satisfaction of seeing your watch sparkle again.