
To replace a clock spring mainspring safely, match the replacement to the old spring, fully release the stored power, remove the old spring under control, and install the new one with clock-rated tools. Do not start with a winding key alone. A loaded spring can injure your hand, damage the movement, or bend a wheel arbor.
This guide covers spring-driven mechanical clocks, including mantel, wall, and some carriage clocks. It does not cover battery-powered quartz clocks, torsion clocks, or fusee movements because those designs need different methods.

You can replace a clock mainspring when you can identify the movement, control its stored tension, and use tools sized for the spring and winding arbor. This is not a suitable first repair for a valuable antique, a complicated chiming clock, or a movement with unfamiliar parts.
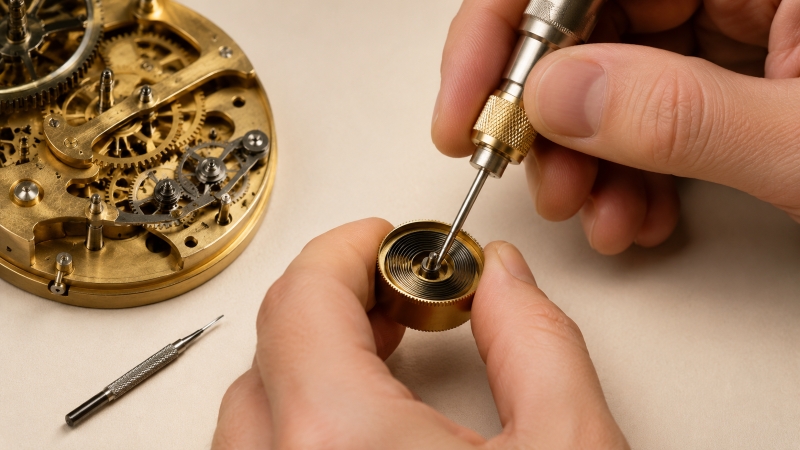
A clock mainspring is a long, flat coil that stores energy for the time train or strike train. It may sit openly between the plates or inside a barrel. Both types follow the same first rule: release the power before removing plates, springs, or gears.
A clock mainspring is not a watch mainspring. Watch springs are much smaller and usually use a compact barrel and winder system. A large clock spring stores more force and needs a clock-specific let-down tool, clamps, and winder.
A home repair is reasonable when all of these points are true:
A controlled mainspring winder helps keep the coils flat and aligned with the barrel hook. Do not force a loose spring into the barrel by hand.
Stop the repair when the movement is rare, sentimental, or expensive to replace. A professional should also handle clocks with a chain-driven fusee, a complex quarter-strike mechanism, damaged pivots, cracked plates, or a spring that has escaped its barrel.
Corrosion is another stop sign. Rust can weaken a spring and hide damage in the barrel wall or hook. A spring that breaks while the clock is running can bend teeth in the train, so inspect for that damage before ordering parts.
Wear eye protection and keep your hands outside the spring’s path. Do not use pliers, a household wrench, or an ordinary clock key to let down a loaded mainspring. A proper let-down tool lets you control the arbor with your full hand.
Replace a clock mainspring in six controlled stages: identify the spring, let down the power, remove the old spring, inspect the barrel, install the matched replacement, and test the train before full reassembly. Keep the movement supported throughout the process.
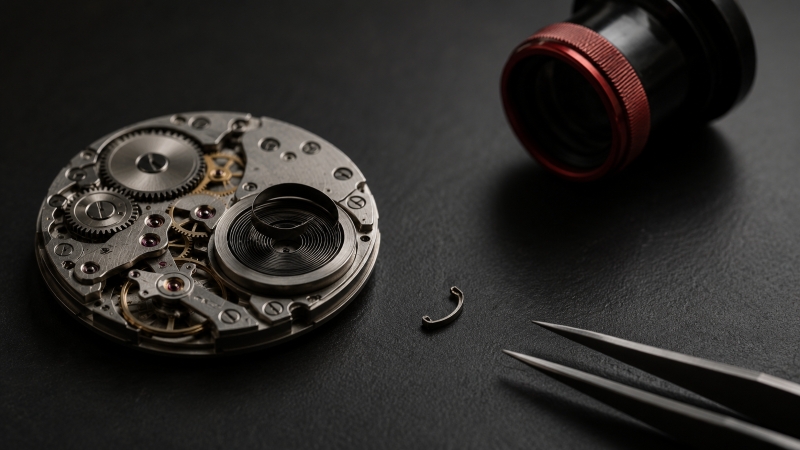
Start by photographing the front and back of the movement. If the clock has two springs, label the time side and the strike side in your photos. Do not assume the springs are identical. A strike train may use a spring with a different length, thickness, or strength.
Record these six details from the old spring:
An open mainspring attaches directly to a post or movement pillar. A barrel mainspring sits inside a circular metal container. The replacement must match the original construction and attachment points. A spring with the wrong outer end may not catch the barrel hook, while the wrong inner end may slip from the arbor.
Record the movement maker and every number stamped on the back plate. Use these markings together with the spring measurements when identifying a replacement. Do not order by clock case size alone because similar-looking clocks may use different movements and mainsprings.
Let down every mainspring before removing a barrel or separating the movement plates. This releases the stored power under control instead of allowing it to pass suddenly through the wheel train.
Fit the correct collet or socket of the clock let-down tool over the winding arbor. It should fit securely without rocking or slipping. If you cannot obtain a secure fit, stop and use a correctly sized attachment.
Hold the tool firmly with your full hand. Turn the arbor slightly in the normal winding direction to remove pressure from the click. While maintaining control of the arbor, move the click clear of the ratchet with a suitable small tool.
Allow the let-down tool to rotate slowly in your hand. Do not release your grip or allow the arbor to spin freely. Continue until the spring no longer applies turning force to the arbor.
For an open mainspring, fit a correctly sized spring clamp around the coil before releasing the click. Keep the clamp centered as the spring relaxes. It should restrain the coil without pinching or cutting into the spring edge.
If the clock has two mainsprings, let them down separately. Complete and document one side before moving to the other. Photograph each restrained spring and label whether it powers the time, strike, or chime train.
Remove the movement from its case only after every mainspring has been fully let down. Place the movement on suitable supports so the plates remain level and the arbors do not rest directly on the bench.
Before removing a barrel, photograph its position and mark its orientation. Remove the barrel without forcing the wheel teeth or neighboring arbors. Take the arbor out only after recording which side and direction it faces.
Open the barrel over a clear work tray while wearing eye protection. Even after the spring has been let down, the cover or spring may shift as the barrel opens. Keep your face and hands away from the path of the cover and coil.
Use a clock mainspring winder to remove the spring when the tool supports controlled extraction. Do not pull a large spring from the barrel with pliers or allow it to expand freely across the bench.
Inspect these areas before installing the replacement:
Do not install the new mainspring if a hook, barrel wall, arbor, or wheel tooth is damaged. Repair or replace the affected part first.
Clean the barrel and remove all old lubricant before reassembly. Hardened residue can stop a correctly sized spring from sliding evenly. For the wider cleaning process, see How to Clean a Mechanical Clock Movement.
Apply a suitable clock mainspring lubricant according to the spring or lubricant manufacturer’s instructions. Do not substitute household oil, penetrating spray, or an unidentified general-purpose grease. Excess lubricant can collect debris and interfere with the movement of the coils.
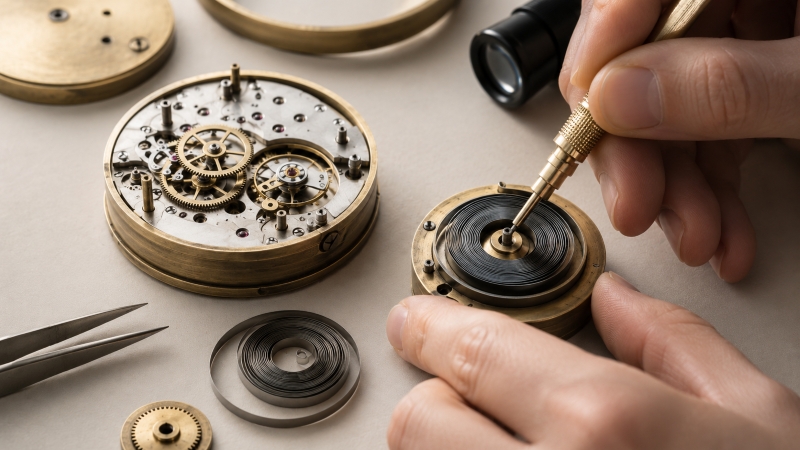
Use a clock mainspring winder sized for the replacement spring and barrel. Loading a large spring by hand can bend the coils, damage the spring edge, or prevent the outer end from engaging the barrel hook.
Fit the spring into the winder in the correct direction. Engage its inner end with the winder arbor and apply steady pressure while winding. Stop if the spring rides upward, scrapes the tool, or begins to twist. Remove it under control and correct the alignment before continuing.
Position the loaded winder over the barrel. Align the outer end with the barrel hook, then transfer the spring into the barrel under control. The spring should lie flat without crossed, twisted, or overlapping coils. Refit the barrel arbor and confirm that its hook securely engages the inner end.
For an open mainspring, confirm that the inner end engages the arbor hook and the outer end engages the correct post or pillar. The spring must not rub either movement plate. Keep the spring clamp in place until both ends are seated and the arbor is under control.
The operating principle may look similar to How to Wind a Mainspring with Bergeon Mainspring Winders, but a clock mainspring needs tools rated for its larger diameter and stored force. Never substitute a wristwatch mainspring winder for a clock mainspring winder.
Refit the arbor and barrel before closing the movement plates. Turn the arbor slightly in the normal winding direction and confirm that the spring’s inner end has engaged. The arbor should turn smoothly without jumping or slipping.
Reassemble the wheel train in the order recorded in your photos. Confirm that every pivot enters its correct hole before tightening the plate screws. Never pull the plates together with the screws. Doing so can bend a pivot or damage a bearing surface.
Apply only one or two turns for the first powered test. Observe the barrel and first wheel while checking whether power passes smoothly through the train. Stop if you hear scraping, see a wheel jump, or feel abnormal resistance.
Perform this initial test before reinstalling the dial, hands, pendulum, and case. Keep the movement securely supported throughout the test.
Stop the repair if the new mainspring slips, the train binds, or the clock loses power almost immediately. These symptoms may indicate an incorrect spring, damaged hook, bent arbor, assembly error, or existing movement wear.

A spring that slips during winding may have the wrong inner-end shape, a worn arbor hook, or an outer end that does not match the barrel hook. Remove the spring with the winder and inspect both engagement points.
Do not repeatedly bend a replacement spring to make it fit. Reshaping a formed end can weaken it. Obtain a spring with the correct inner and outer end styles before trying again.
A clock that runs briefly and stops may have a spring that is twisted or incorrectly seated. Hardened residue, barrel drag, worn pivots, damaged bushings, or an existing train problem may produce similar symptoms.
Check that the spring lies flat and that the barrel turns without rubbing the plates. Inspect the pivots, bushings, wheel teeth, and escapement before assuming the replacement spring is faulty.
Binding may result from a reversed barrel, an incorrectly seated arbor, or a pivot that missed its hole during assembly. Uneven power may also indicate a spring that is too strong, thick, long, or wide for the movement.
Stop winding when you feel abnormal resistance. Remove the spring under control and compare its dimensions, winding direction, and end styles with the original measurements.
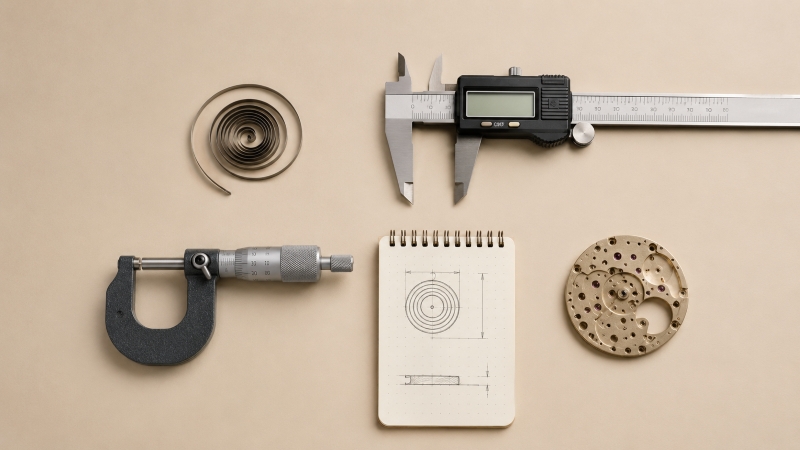
Check the spring measurements, movement photos, attachment points, and tool compatibility before ordering. This can prevent damage to the replacement spring and the original clock movement.
Confirm the spring’s width, thickness, length, winding direction, inner-end style, and outer-end style. Record the movement maker, plate markings, barrel diameter, and plate dimensions when available. Provide these details to the supplier instead of relying on the clock’s case style or approximate age.
Choose tools according to the movement and mainspring size. Soflypart’s watch repair tools category includes general bench tools such as loupes, screwdrivers, tweezers, movement supports, and cleaning accessories. For this procedure, you must separately use a clock-rated let-down tool, spring clamps, and mainspring winder suitable for the spring’s diameter and stored force.
Keep the old mainspring until the replacement has been installed and tested successfully. It remains the most useful physical reference for dimensions, winding direction, and end design.
Replacing a clock mainspring requires controlled release, accurate measurements, and tools made for clock work. Record the original spring, release all stored power, inspect the barrel and hooks, and install the matched replacement with a clock mainspring winder.
Begin testing with only one or two turns. Stop if the spring slips, the train binds, or the movement produces scraping or abnormal resistance. If the clock has rare parts, unknown spring dimensions, corrosion, or damaged pivots, leave the repair to an experienced clock repairer.
Do not install a large clock mainspring without a correctly sized clock mainspring winder. Hand-loading can distort the spring, damage the barrel hook, or allow the spring to escape under force.
Measure its width, thickness, relaxed length, winding direction, inner-end style, and outer-end style after safely removing it. Also record the movement maker, plate markings, and barrel diameter.
Not always. However, inspect the barrel, hooks, arbor, wheel teeth, pivots, bushings, and lubricant before installing a replacement. A broken spring may damage other parts or reveal existing wear.
No. They differ in dimensions, stored force, attachment design, and installation equipment. Use a mainspring and winder intended for the specific clock movement.
No. Begin with one or two turns and observe the barrel and train. Continue only if the spring remains engaged and the movement operates without slipping, binding, scraping, or abnormal resistance.